⑬ Dehydration, clearing and coverslipping
After staining, sections are dehydrated and cleared. Then, a coverslip is applied to protect and preserve the section.
Dehydration
Moving a specimen from a low-concentration to pure ethanol bath in a stepwise manner replaces the water content of the tissue with ethanol.
Place the specimen in each liquid for 2–3 minutes.
| 1 | 70% ethanol |
| 2 | 95% ethanol |
| 3 | 100% ethanol I |
| 4 | 100% ethanol II |
| 5 | 100% ethanol III |
Clearing
Clearing is performed after dehydration to replace the ethanol content of the tissue with xylene. This process makes the tissue transparent, which renders the specimen suitable for microscopy.
Place the specimen in each liquid for 10 minutes.
| 6 | xylene I |
| 7 | xylene II |
| 8 | xylene III |
↓
Issues to consider with dehydration and clearing
Thoroughly draining the liquid when transferring the specimen to the next liquid bath is important; however, if this process takes too long, then it will result in moisture from the air adhering to the glass slide, leading to water mixing with the liquid in the jar. Therefore, it is essential to quickly drain the liquid and rapidly transfer the section to the next liquid. The liquid will quickly become dirty, but this can be addressed by frequently replacing it.
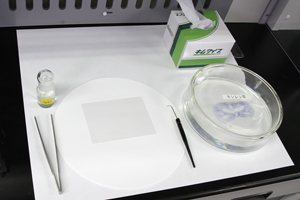
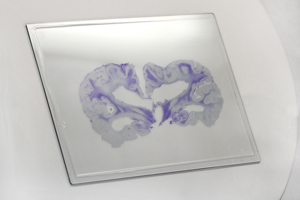
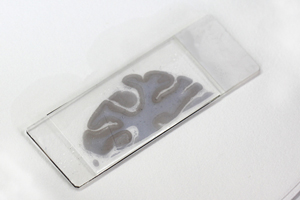
Coverslipping method for large sections
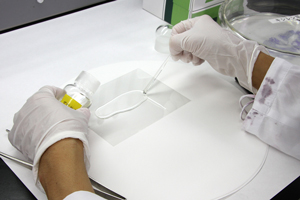
- Place the mounting media into a bottle with a lid. Dilute the mounting media with xylene as needed. Also prepare a glass rod to drip the mounting media.
|
 |
- Place a suitably sized glass cover on top of the filter paper. If there is dirt on the glass, then carefully wipe it off with gauze or another suitable material.
- Drip a suitable amount of mounting media onto the glass cover with a glass rod.
|
 |
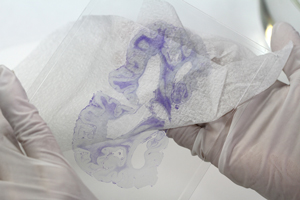
- Remove the glass slide from the xylene and place it on top of the filter paper.
|
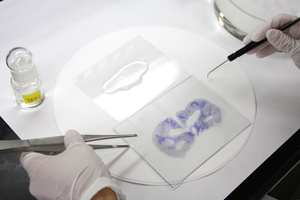 |
- Right-handed individuals should hold the glass cover in their right hands. Invert the glass cover so that the surface with the mounting media is facing down and then transfer it to your left hand, standing the left edge of the glass cover at an angle on the left side of the glass slide.
|
 |
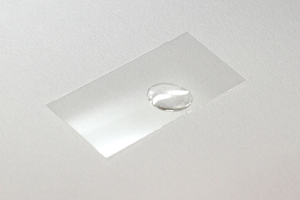
- Wait for the mounting media on the glass cover to drip onto the glass slide.
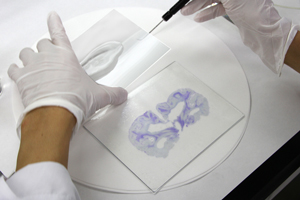
- Gently lower the glass cover while supporting the right side with a dissecting needle. Carefully ensure that no bubbles are trapped under the glass.
|
 |
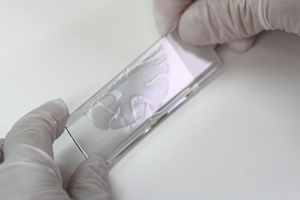
- The mounting media will spread over the section when the dissecting needle is slowly withdrawn from the glass cover.
|
 |
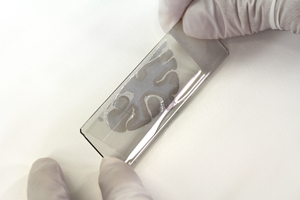
- Wipe off excess mounting media that has seeped out of the sides using a Kimwipe or another similar material.
|
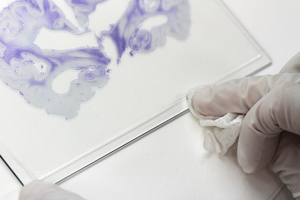 |
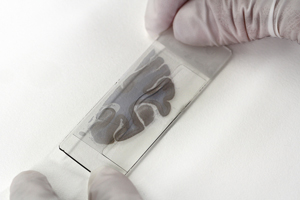
- Wipe off the back of the glass slide with a new Kimwipe.
|
 |
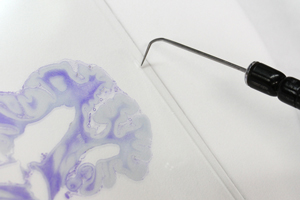
- Use the dissecting needle to correct the position of the glass cover.
|
 |
Encapsulation method for small sections
- Place a suitably sized glass cover on top of the filter paper. If there is dirt on the glass, then carefully wipe it off with gauze or another suitable material.
- Drip a suitable amount of mounting media onto the glass cover with a glass rod. At this time, place the mounting media along one side of the glass cover.
|
 |
- Remove the glass slide from the xylene.
- Hold the glass slide in both hands with the section side facing downwards. Stand the long-axis edge of the glass slide at an angle where the mounting media has been placed on the glass cover.
|
 |
- Settle the mounting media to the edge of the glass slide.
|
 |
- Slowly lower the glass slide with your hands.
|
 |
- If you release your hands part way through, the mounting media will spread over the section.
- Invert the section, and the process is complete.
|
 |
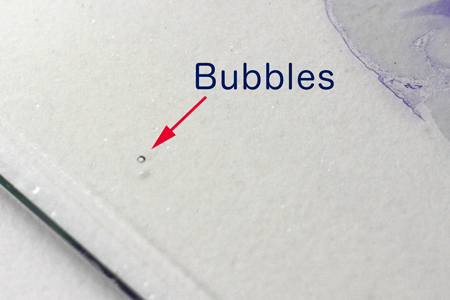
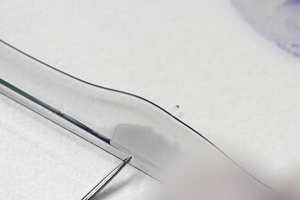
When bubbles are trapped under the glass
- Push out any bubbles that can be pushed out by lightly pressing down on the glass cover. If you press too hard, then the mounting media will escape from under the glass cover. Use caution because bubbles being pushed out can form new bubbles. If this occurs, either remove the glass cover and redo the process or try the following method.
|
 |
- Slowly lift one side of the glass cover with a dissecting needle to peel off the glass cover. As the glass cover is peeled off, the mounting media will move along the section in the same direction.
|
 |
- Lift the glass cover as far as the bubble locations, and the bubbles will disappear as the mounting media moves toward the locations of the bubbles.
|
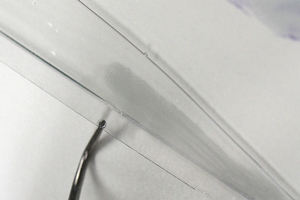 |
- Slowly return the glass cover to its original position.
|
 |